Setting up Jira
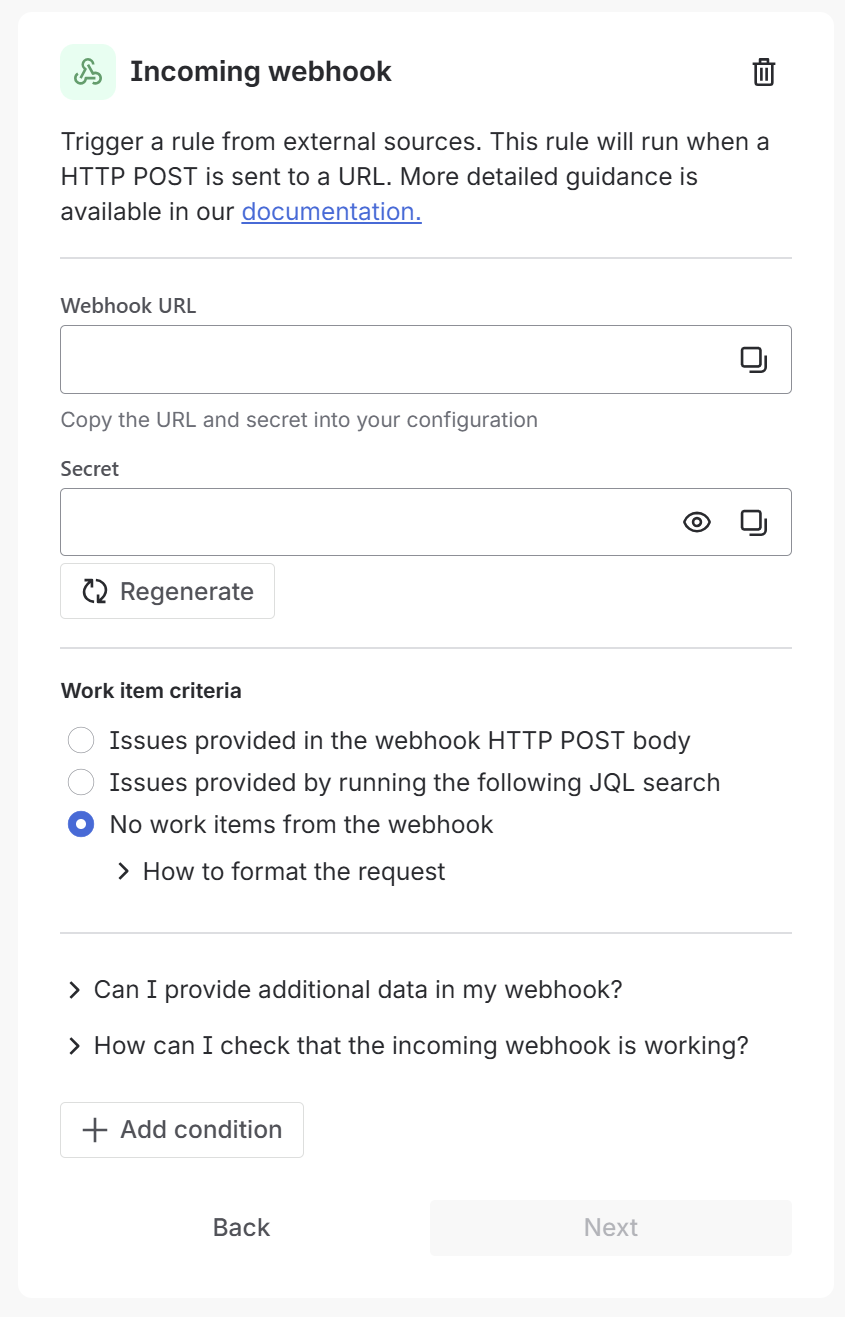
To receive webhooks in Jira, administrators can configure an automation rule using the Incoming webhook trigger. In your Jira project, navigate to Project settings > Automation, create a new rule, and select Incoming webhook as the trigger. Jira Automation will then provide a unique webhook URL to use as the destination for your outgoing webhooks.
When configuring the trigger, under Work item criteria, select No work items from the webhook. This ensures the automation rule processes the incoming data without expecting existing Jira issue references in the payload.
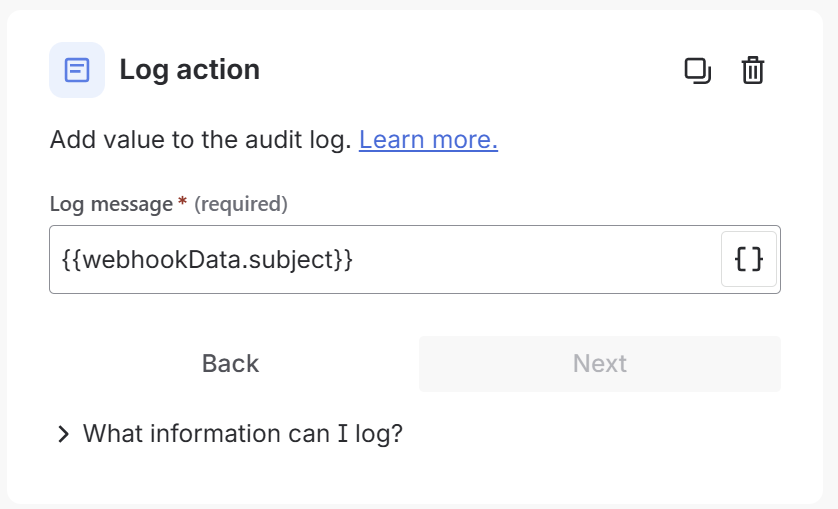
The incoming webhook trigger allows you to parse data from the Truesec Platform and perform actions such as creating or updating issues. You can access the webhook payload using the {{webhookData}} smart value within your automation rule to map fields from Incidents, Vulnerabilities, or Threat Events to Jira issue fields.
For detailed guidance on setting up automation rules with incoming webhooks, Atlassian provides comprehensive documentation in the Jira Automation Triggers section of their support portal.
To test and validate your Jira setup:
- Configure an outgoing webhook by following the Portal Configuration guide.
- When configuring the webhook in the portal, add an authentication header with the name
X-Automation-Webhook-Token. - Set the header value to the secret provided by Jira Automation.
- Trigger sample webhooks for Incidents, Vulnerabilities, and Threat Events.